How to Make Videos with Claude Using Other AI Models (step-by-step)
Use Claude to develop the idea, script and production plan, then bring in other AI tools to generate footage, audio or graphics. The workflow depends on whether your video needs realistic scenes, narration or code-driven animation. Claude does not render a finished video file, so you’ll need a separate tool to generate or edit the final video.
Steps to Make a Video with Claude
Set the video’s audience, purpose, length, format and key message.
Ask Claude to turn your brief into a script, storyboard, shot list and prompts for visual assets.
Use specialist AI tools to generate footage, narration, music or graphics.
Check each asset for continuity, accuracy, sound quality and fit with the script.
Assemble the chosen assets in a video editor or code-based renderer.
Adjust the timing, captions, audio and framing, then export the video.
Keep planning separate from asset generation and editing. AI-generated clips are usually short, so you’ll need to select and join them to build a longer sequence. Set aside time to review the results and make revisions; the first generation is rarely a finished video.
Choose tools for each production job
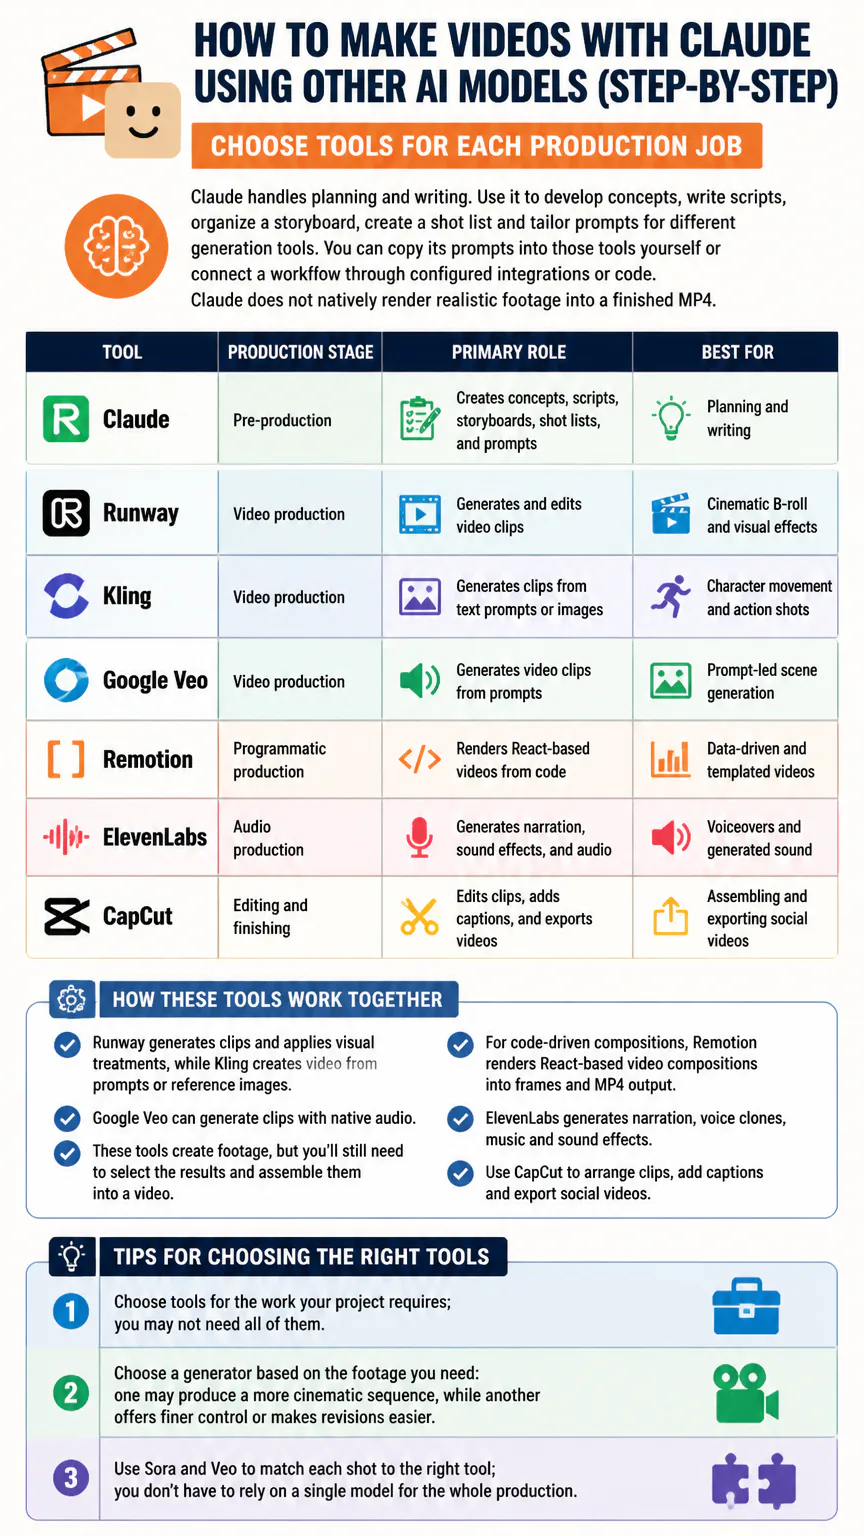
Claude handles planning and writing. Use it to develop concepts, write scripts, organize a storyboard, create a shot list and tailor prompts for different generation tools. You can copy its prompts into those tools yourself or connect a workflow through configured integrations or code. Claude does not natively render realistic footage into a finished MP4.
Tool | Production stage | Primary role | Best for |
|---|---|---|---|
Claude | Pre-production | Creates concepts, scripts, storyboards, shot lists, and prompts | Planning and writing |
Runway | Video production | Generates and edits video clips | Cinematic B-roll and visual effects |
Kling | Video production | Generates clips from text prompts or images | Character movement and action shots |
Google Veo | Video production | Generates video clips from prompts | Prompt-led scene generation |
Remotion | Programmatic production | Renders React-based videos from code | Data-driven and templated videos |
ElevenLabs | Audio production | Generates narration, sound effects, and audio | Voiceovers and generated sound |
CapCut | Editing and finishing | Edits clips, adds captions, and exports videos | Assembling and exporting social videos |
Runway generates clips and applies visual treatments, while Kling creates video from prompts or reference images. Google Veo can generate clips with native audio. These tools create footage, but you’ll still need to select the results and assemble them into a video.
For code-driven compositions, Remotion renders React-based video compositions into frames and MP4 output. ElevenLabs generates narration, voice clones, music and sound effects. Use CapCut to arrange clips, add captions and export social videos. Choose tools for the work your project requires; you may not need all of them.
Choose a generator based on the footage you need: one may produce a more cinematic sequence, while another offers finer control or makes revisions easier. Use Sora and Veo to match each shot to the right tool; you don’t have to rely on a single model for the whole production.
Write a script and shot list with Claude
Give Claude a brief with the video’s message, intended viewer, platform, target length and tone. Include any facts that must appear and constraints on the visuals. Ask for separate deliverables you can review and revise, rather than one long block of creative copy.
Request a concise concept and a one-sentence summary.
Ask for a timed script with narration, on-screen text and scene changes.
Request a shot list with one visual action, setting and camera direction per shot.
Ask Claude to write a generation prompt for each shot, carrying character, setting and style details across scenes.
Check the script and prompts for factual errors, unclear transitions and details a video model may render inconsistently.
Keep each shot prompt focused on visible details: the subject, action, environment, lighting, camera movement and framing. If the video explains a product or process, specify any claims that need exact wording. Provide a real reference image when generated visuals must accurately represent a product or feature.
A short social clip may need only a brief outline, while a video with several scenes calls for detailed shot descriptions and continuity checks. Tailor Claude effort levels to the project, balancing a quick draft with the planning needed for production.
Generate video clips and audio
Generate clips one scene at a time using the shot list. Short clips are easier to assess and replace than a long generation, and separate prompts make it easier to identify which scene needs revision. If a tool accepts reference images, use one to help maintain a character, product or visual style between shots.
Choose a footage-generation tool for the shot and submit its prompt or reference image.
Generate alternate takes for shots where the subject, movement or composition matters.
Save the strongest versions and label them by scene so they’re easy to place in script order.
Generate narration or other audio separately if the footage tool doesn’t provide suitable sound.
Listen to the audio and inspect each clip before adding it to the edit.
ElevenLabs can generate narration, music and sound effects. Creating a voice clone requires about five minutes of recorded speech. Use only voices and recordings you have permission to use, and check generated audio for pronunciation, pacing and artifacts. Confirm that the music and sound effects are cleared for your intended use.
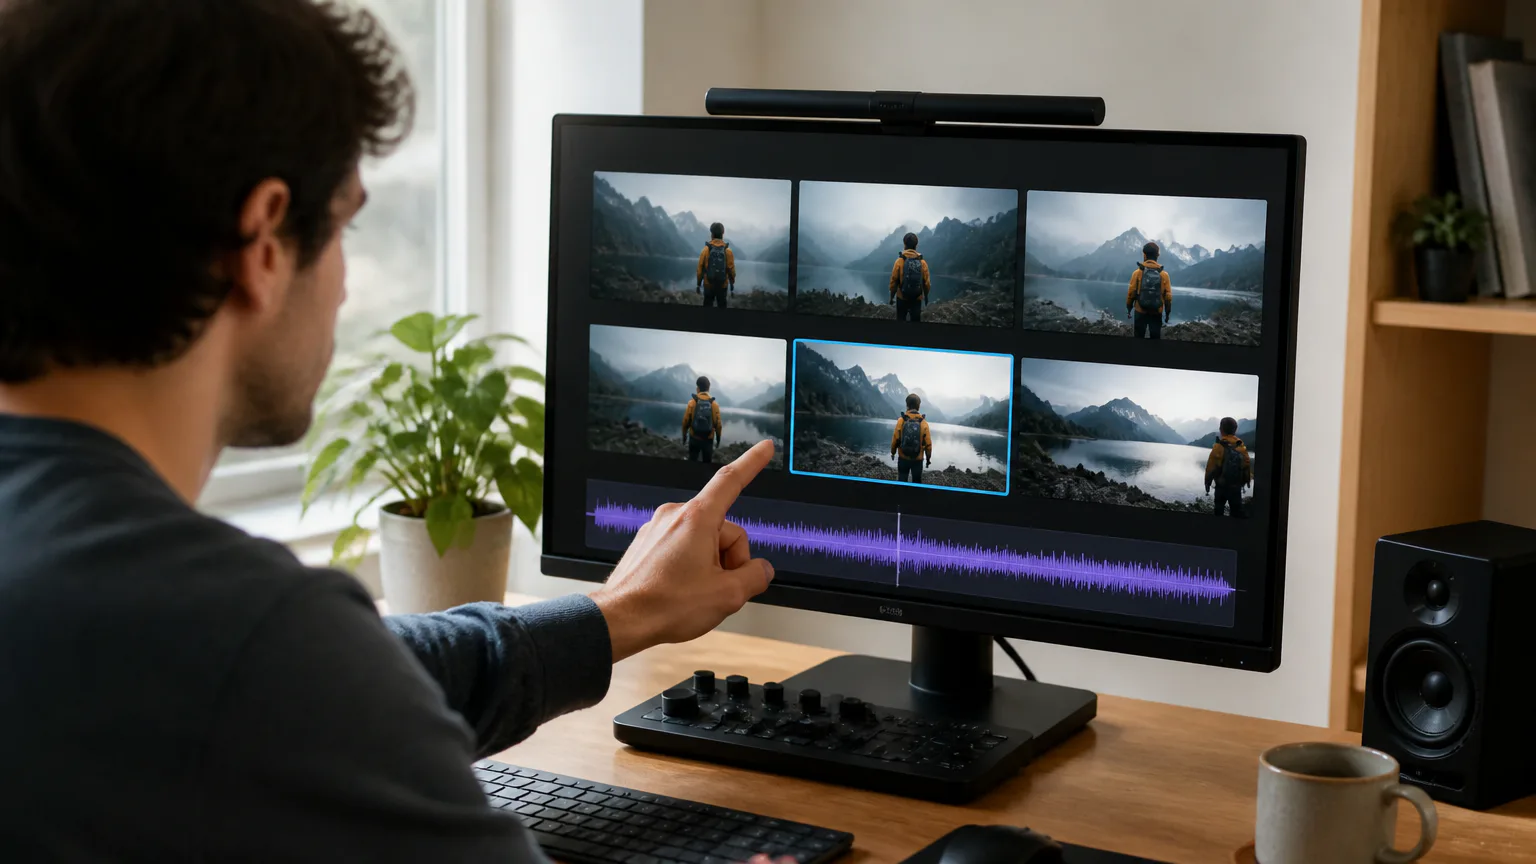
Clips generated separately may differ in color, lighting, or composition. Use a style reference as a visual reference to keep the shots consistent.
Use Claude Code for code-driven video
Claude Code is a terminal-based option for coordinating tools and generating code-rendered video. It suits projects built from repeatable graphics, text, charts or branded motion: changing a script or data value can update the composition. You’ll still need to render the video and review it; generated code isn’t a finished, checked video.
Write a brief describing the composition, duration, dimensions and visual rules.
Ask Claude Code to create or revise the video project and explain how to render it.
Render a short preview and check the timing, typography, animation and layout.
Fix code or content issues, then render the complete video.
In Remotion, useCurrentFrame() provides the current frame, interpolate() maps values across frames, and spring() creates eased motion. Together, these tools can create timed animation in React. Use this workflow for precise, repeatable motion graphics; use generated footage for scenes that need realistic movement or environments.
Assemble, revise, and export
Arrange the selected clips in script order, then match the narration and sound to the visuals. CapCut handles timeline assembly, captions and social-video exports. If you prefer a command-line workflow, FFmpeg can cut, trim and assemble footage without a graphical editor.
Set the aspect ratio and resolution for the video’s intended destination.
Place clips in sequence and trim them to match the script’s timing.
Align narration with the visuals, then add music and sound effects at appropriate levels.
Add captions and check their timing against the spoken audio.
Review the full video, fix problem shots and export an MP4.
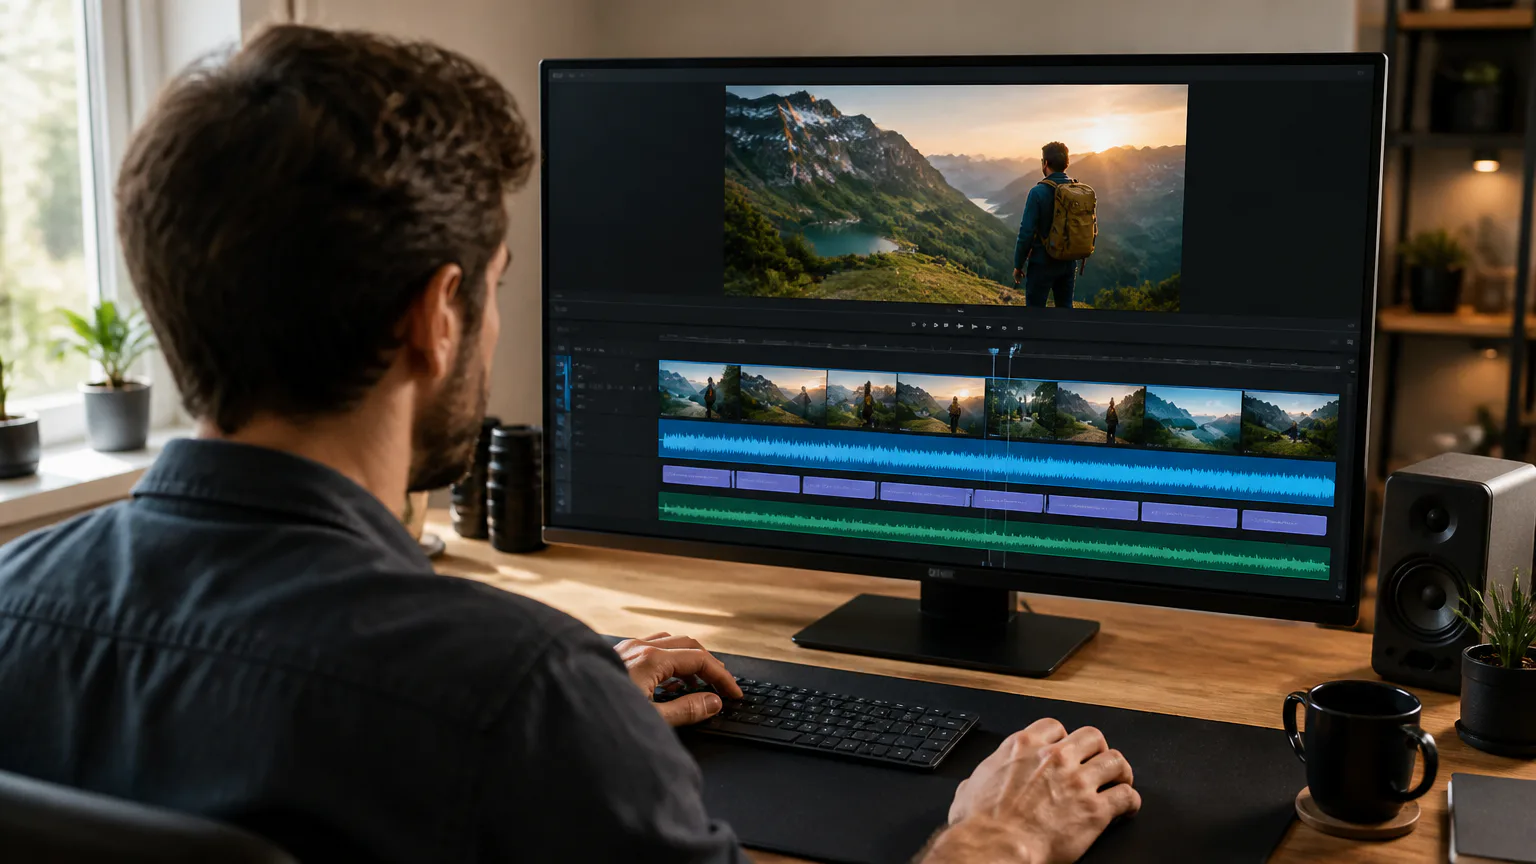
When trimming dialogue, use both the transcript and the audio waveform to find cut points. The transcript helps preserve complete phrases; the waveform helps locate pauses and speech boundaries. Using only one can leave a cut in the middle of a word. Before exporting, check that titles are readable, captions are synchronized, audio is clear, and the opening and ending aren’t cut off.
FAQs
Can you make videos with Claude for free?
You can build a low-cost workflow with any free access to Claude and generation tools, plus local editing software such as FFmpeg. Video and audio services may have separate usage limits or charges, so a completely free workflow isn’t guaranteed.
Can Claude generate a video from an image?
Claude can describe an image and turn it into a prompt or storyboard direction, but it can’t render the image into a video. A video-generation tool that accepts reference images can use the still as input for a clip.
Which Claude model can create videos?
No Claude model natively renders video. Claude can help plan and write a video, while external tools generate the footage.
Can Claude make good AI videos?
Claude can help create a strong script and shot plan, but it doesn’t render the footage. The final quality depends on the plan, the output from the generation tools and how carefully you review and edit the clips.
Can Claude review a finished video file?
Claude can help with planning, writing and coordinating production tasks, but it doesn’t replace a video editor for watching and cutting a timeline. Review the rendered video in a media player or editor. You can then give Claude transcripts, screenshots or specific notes to revise the script or prompts.
How can I create a video with Claude Design?
Use Claude to develop the visual direction, script, storyboard and prompts for your video. You’ll still need a video-generation tool or editor to render the finished video.
Conclusion
Start with a short draft: test the script, generate one or two scenes and check the export settings. Once the pacing and visual approach are working, use the same workflow to build the full video.