Complete Pony Town Character Creator Guide for Players
When designing your pony, the character creator is your paintbrush. But beneath the fun of picking manes and eye shapes, there is a crucial step many skip: saving presets correctly. Have you ever spent time perfecting every detail only to lose your custom pony because of a simple export misstep?
By understanding how to save and export your designs, you can ensure your creations last and share smoothly. Knowing this process saves time, avoids frustration, and helps you showcase your work with confidence.
Getting Started
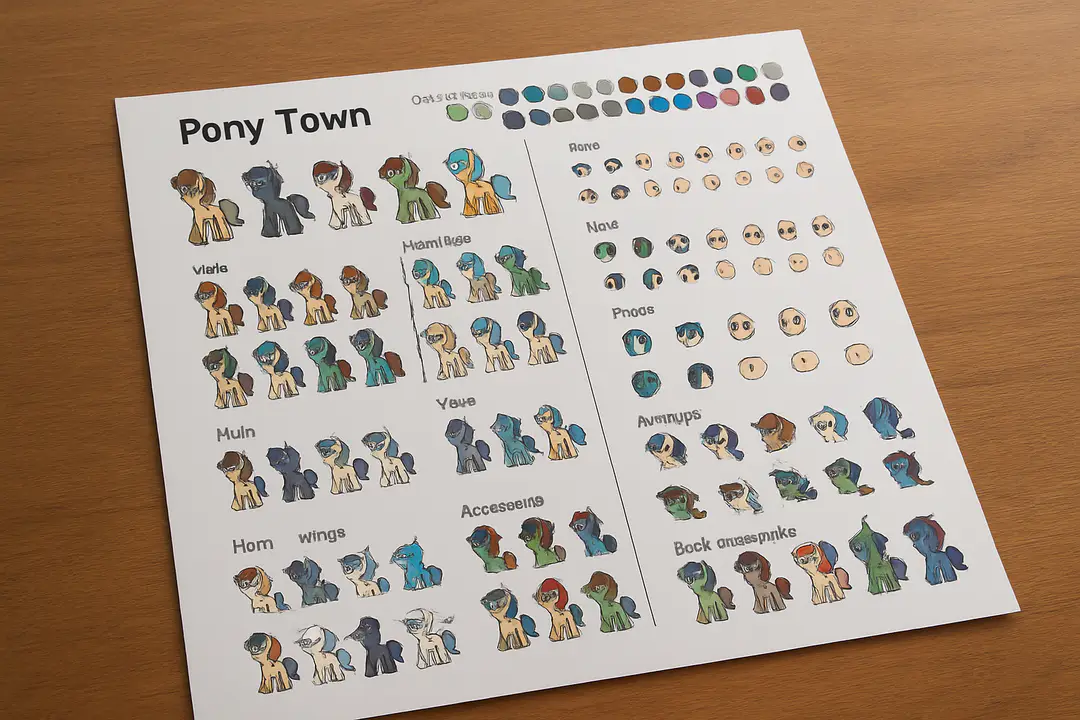
The first time you open the pony creator, it can feel overwhelming. You see slots for bodies, manes, eyes, and accessories. Take a moment to click through each tab. This helps you learn where everything lives. Jumping in blind can lead to missed options and wasted effort.
Start by selecting a base pony. Choose a shape that matches your vision. Smaller details like ear shape come later. The interface is simple once you learn the flow. Getting this foundation right makes the rest of the process easier.
Feature Customization
After picking your base, it’s time to add character. You can adjust ear size, mane style, and tail shape. Try dragging sliders slowly. Small moves can make a big difference. If your mane overlaps oddly, use the layer buttons to move it forward or back.
One tip is to toggle the grid view. That lines up features cleanly. You might also use the randomize button for fresh ideas. Then tweak the results to fit your style. This mix of trial and error leads to unique designs.
Color Choices
Color can make or break your pony’s look. The palette offers presets and a custom picker. Start with base tones you like and adjust saturation. Bright colors stand out, but they can clash if overdone.
Try pairing a soft body color with a bold mane. Use contrasting eye hues to draw attention. If you struggle, take a screenshot and test variations in an art tool. This extra step helps you spot odd combos before saving.
Saving Your Design
Once you love your pony, save it before closing. Here are the steps:
- Click the save icon at the top right.
- Enter a name that describes your style.
- Choose export format (PNG is best).
- Click export and pick a folder.
- Verify the file before exiting.
Following these steps prevents surprises later. If you skip naming, files can get lost in your downloads. A clear system helps you stay organized.
Advanced Tricks
For power users, there are extra options hidden in the tool. You can upload decal images or use gradient fills when you edit the export manually. Some community members share templates you can import. This process involves editing the JSON layer file.
If you want more help, join the community on Discord and learn how to create a Discord account. There you can ask for templates, color tips, and new ideas. Community feedback can spark your next standout design.
Troubleshooting Mistakes
Even experts hit roadblocks. Maybe your mane file won’t load, or the eyes show off-center. Check file names for typos first. Then confirm the export folder is correct. If all else fails, revert to a previous save.
Always protect your social profiles when sharing designs online. Learn to protect your social profiles and keep your art safe. When you share publicly, use watermarks or low-res previews. This keeps your work credited and secure.
Conclusion
Building a memorable pony starts with mastering the character creator and exploring its many options. Each tab offers surprises, from unique accessories to subtle shape adjustments. Make it a habit to experiment early and revisit drafts. This approach helps you learn the tool and develop your own style. Over time, minor tweaks become second nature, and you’ll develop a workflow that fits your creative pace.
It also pays to stay organized. Save your files with clear names and use consistent folders. Back up your exports in cloud storage or on your device. This prevents lost work and makes it easy to revisit old designs.
Finally, lean on the community. Whether you are troubleshooting a glitch or seeking fresh ideas, fellow creators are there to help. Share your designs confidently, armed with the knowledge to protect your work. With these practices, you’re ready to create standout ponies without surprises.
Now, you have a full playbook: basics, colors, saving, and advanced tricks. Take what you’ve learned and dive into your next pony project today. With these steps, you’ll avoid common mistakes and showcase your creations like a pro. Enjoy the process and watch your designs come to life.