Fallout 4 item codes guide for safe console use
Most Fallout 4 players hit a point where the game stops feeling like survival and starts feeling like paperwork. You’re low on ammo, your settlement needs one more rare part, or a quest bug ate an item you swear you picked up. The console feels like the clean fix, but there’s a small detail many people miss: item codes are not “universal names,” and the wrong format can quietly break your flow. So why do item codes sometimes work perfectly, and other times do nothing or spawn the wrong thing?
The answer is that Fallout 4 item codes depend on how the game tracks items, DLC, and mods, and that tracking changes your IDs behind the scenes. Once you understand how base IDs, load order, and command syntax fit together, you can spawn what you need without crashing saves or ruining balance by accident. You’ll also get faster at troubleshooting when a code from a list online doesn’t match your game.
What item codes really are
In Fallout 4, an “item code” is usually a Form ID, a unique hexadecimal number that points to a specific record in the game files. The game doesn’t search by item name when you use commands like player.additem; it uses that ID. This is why spelling “Combat Rifle” correctly won’t help if the ID is wrong.
Here’s the simple mental model: every object (weapon, ammo, junk, perk magazine, even a note) lives in a database. The Form ID is the address. Console commands are just telling the game, “Put this record in my inventory.”
Practical tip: you don’t need to memorize hundreds of IDs. What you need is a repeatable way to find the right one in your current setup. That’s especially true if you run DLC or mods, because they can add new records or shift the first two digits of IDs.
Also, be aware of categories. Many lists online mix base-game items with DLC items, or even Creation Club content. If you paste an ID for an item you don’t have installed, the command may fail or do nothing. That’s not you doing it wrong; it’s a mismatch between the list and your loadout.
If you like structured problem-solving, think of it like tracking down a bad file in a messy folder. A quick process beats guessing. The same way a clear approach helps when you’re improving logical thinking (like these step-by-step puzzle habits), a small method for IDs saves time and frustration.
Console basics that matter
Before you even touch a list of Fallout 4 item codes, you want your console command habits to be clean. On PC, open the console with ~ (tilde). If you’re on PlayStation or Xbox, you generally can’t use the console without external tools, so item codes are mainly a PC topic.
The most common command is:
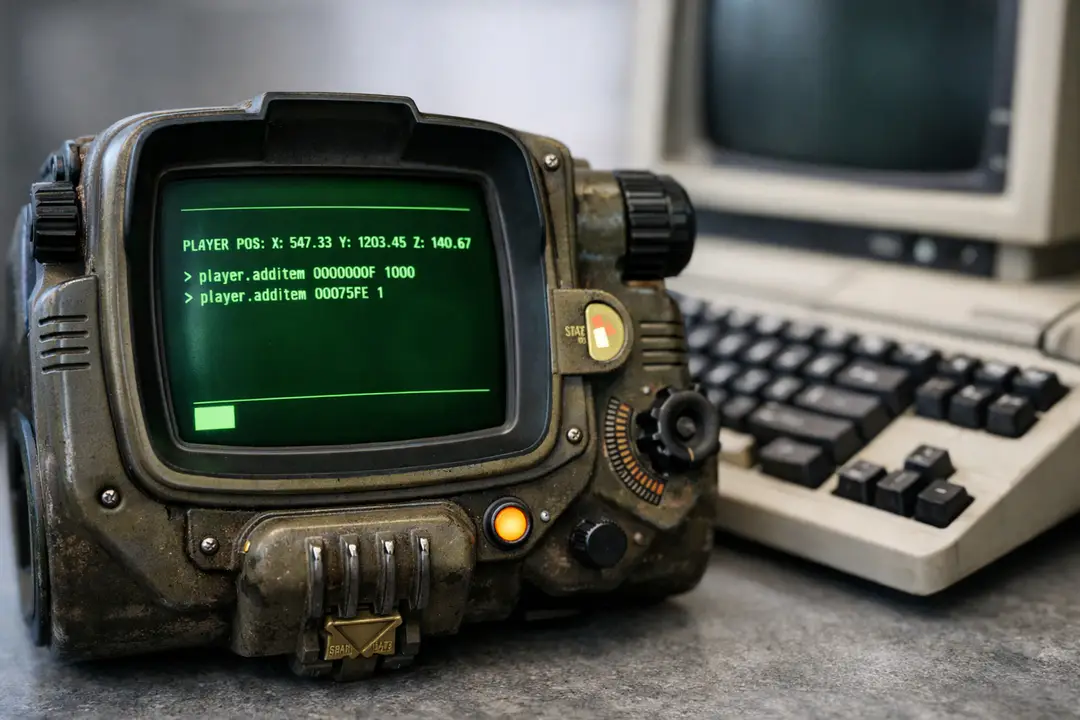
player.additem <FormID> <amount>
Example format (not a specific item): player.additem 0000000F 500 would add 500 of whatever that ID points to. For caps, that ID is commonly used, but you should still verify in your game if you’re using modded setups.
Practical tips that prevent headaches:
- Always include the amount. Some commands assume 1, but you don’t want surprises.
- Don’t spam Enter. If you add 10,000 ammo by accident, you can change the feel of combat fast.
- Use manual saves. Make a “Console_Test” save before you start adding anything major.
- Know the difference between add and equip. Adding an item doesn’t equip it. Equip uses separate commands.
One more thing: the console is literal. One extra space, missing digit, or wrong bracket can make a command fail. If you get no response, try a smaller test first: add 1 item, confirm it appears, then add more.
DLC and mod ID rules
This is the part that trips up even experienced players: Form IDs have a prefix that depends on load order. The first two digits tell the game which file (base game, DLC, mod) the item comes from. For base-game items, you’ll often see IDs starting with 00. For DLC items, that prefix changes based on how the DLC is loaded in your game.
So if a guide says an item is xx012345, the “xx” is not a typo. It’s a placeholder. You replace it with the correct load index for that DLC or mod in your load order.
Practical ways to find the right prefix:
Method 1: Use an in-game lookup. Use help "item name" 4 in the console. It returns matching items and their IDs. If you can pick up the item in-game (even once), this is the fastest way.
Method 2: Check your load order. Mod managers and some tools show a plugin index. That index often maps to the first two digits you need. If you reorder mods, these can change, which is why old notes sometimes stop working.
Data point worth knowing: if you use multiple mods that add similar items (like “10mm Pistol variants”), a help search can show several matches. The right one is usually the one from the plugin you expect. When in doubt, add one copy, inspect it, and only then add more.
Think of it like keeping your digital setup stable. If you’ve ever dealt with apps that fail due to changing systems, you know small shifts can cause big confusion. The same “keep it organized and predictable” mindset that helps when comparing break-fix vs managed support also helps here: fewer unknowns, fewer surprises.
Finding codes in-game fast
Relying only on random online lists is slow, and it’s risky in a modded game. A better approach is to use the tools Fallout 4 already gives you. The help command is the real workhorse, and it can find items even if you don’t know the exact spelling.
Use:
help "fusion cell" 4
The 4 tells the game you’re looking for items (Form IDs). You’ll get a list that may include ammo, notes, or other related entries. Scroll through and pick the one that matches what you need.
Practical tips for cleaner searches:
- Use short keywords. Try “stim” instead of “stimpak” if you’re not sure.
- Use quotes for multi-word names. It reduces noise.
- Search by type words. “.308” for ammo, “adhesive” for junk, “leather” for armor.
- Don’t trust the first result. Some entries are leveled lists or templates, not the item itself.
If your goal is building, look up components rather than finished junk. Adding “Shipment of Adhesive” or “Shipment of Aluminum” can save you time and weight, but it also changes the settlement loop. A middle-ground approach is to add only what you need to finish a stuck build, then go back to normal scavenging.
Also, watch for “Legendary” confusion. Most legendary effects are not separate items you can add easily; they’re modifiers on an item instance. If you want a specific legendary combination, you’ll usually need separate commands or crafting mods.
Common commands you’ll use
Item codes become much more useful when you pair them with a small set of supporting commands. You don’t need a giant cheat sheet. You need a toolkit you can remember.
Here are the commands most players actually use day-to-day:
- Add items:
player.additem <FormID> <amount> - Remove items:
player.removeitem <FormID> <amount> - Search IDs:
help "keyword" 4 - Move to a quest target:
movetoqt(great for “lost NPC” problems) - Toggle collision (careful):
tcl(use to escape a stuck spot, then turn it off) - God mode (for testing):
tgm(good for troubleshooting, bad for long-term balance)
Practical warning: tcl and tgm can make you forget to turn them off. A simple habit is to type them twice when you’re done (once to disable, once more if you’re unsure), and confirm your character behaves normally.
If you’re using item codes to fix quest blockers, try the least invasive fix first. Example: add the missing item rather than skipping whole quest stages. Skipping stages can break later triggers.
And keep your “why” in mind. If you’re adding items because the economy feels off, consider smaller boosts. Adding 200 caps to cover a fast travel supply run feels different than dropping 20,000 caps and never thinking about vendors again.
Safe use and cleanup
The biggest “issue” with Fallout 4 item codes isn’t that they exist. It’s that they make it easy to change your save in ways that don’t show up until hours later. You might not crash instantly. Instead, you might end up with quests that won’t advance, settlements that behave oddly, or a character build that feels hollow.
Here’s a practical safety plan that works:
- Create a separate test save. Make it before any big console session.
- Add one item first. Confirm it’s the exact version you want.
- Keep a small log. A simple text file with “date + commands” helps if you need to backtrack.
- Use cleanup commands when needed. If you added too much, remove it using
player.removeitem. - Avoid mass spawning physics objects. Dropping hundreds of items on the ground can cause stutter or crashes.
Data point: performance problems often come from clutter and active objects, not from items sitting quietly in your inventory. If you want to test builds or weapons, do it in a quiet interior cell and keep the ground clear.
Also, remember that modded games are more fragile. If you remove a mod later, items from that mod can become “missing references.” That can lead to weird behavior if those items were stored in containers or placed in settlements. A good practice is to sell or scrap mod-added items before uninstalling the mod.
This is basically the same mindset you’d use when reducing risk in any system: make small changes, test, and keep your setup tidy. If you ever read about warning signs of unhealthy tech habits, one theme is control. Console commands are power tools. Use them with intention, not as a reflex.
Quick reference approach
Instead of chasing the “perfect master list” of Fallout 4 item codes, build your own short reference over time. That’s the approach that stays useful even after you add DLC, install mods, or start a new character.
A simple way to do it:
- Pick your core needs. Ammo types you always use, common crafting components, a few healing items.
- Find IDs via the console. Use
helpso the IDs match your setup. - Store them in categories. “Ammo,” “Aid,” “Junk,” “Shipments,” “Building.” Keep it small.
- Add notes about balance. Example: “Only add adhesive in emergencies.”
Practical tip: keep shipments in your list, not raw junk. Shipments are cleaner for inventory weight and easier to scale. If you’re building big settlements, adding one or two shipments to finish a project can keep the game fun without turning it into a full cheat run.
For weapons and armor, it’s often better to add a basic version and then modify it at a workbench. That keeps progression and crafting relevant, and it reduces the chance you spawn an odd template or a version tied to a leveled list.
When you treat item codes as a “repair kit” instead of a shortcut for everything, they become one of the best quality-of-life tools Fallout 4 has.
Conclusion
Fallout 4 item codes can feel like a secret back door, but they work best when you treat them like a careful tool, not a magic wand. The real trick is understanding what the code represents, how DLC and mod load order change IDs, and how to verify what you’re adding before you flood your save with changes.
If you remember only a few things, make it these: use help to find IDs inside your own game, add one item to test, and keep a clean backup save. When you do that, the console stops being scary and starts being practical. You can fix bugs, recover missing items, and smooth out the annoying parts of resource grinding without wrecking the parts of Fallout that make it fun.
Use item codes with a light touch, stay organized, and you’ll spend less time fighting the game’s rough edges and more time exploring the Commonwealth the way you want.