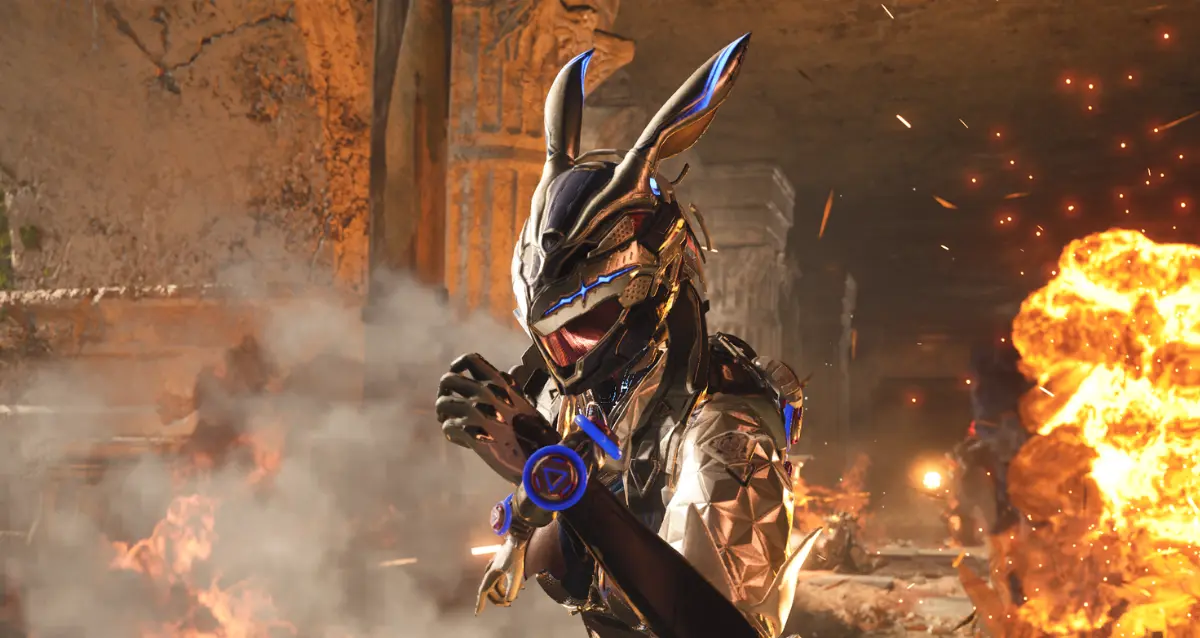
Defeat the Bosses Super Fast -The First Descendant: Ultimate Bunny Build Guide
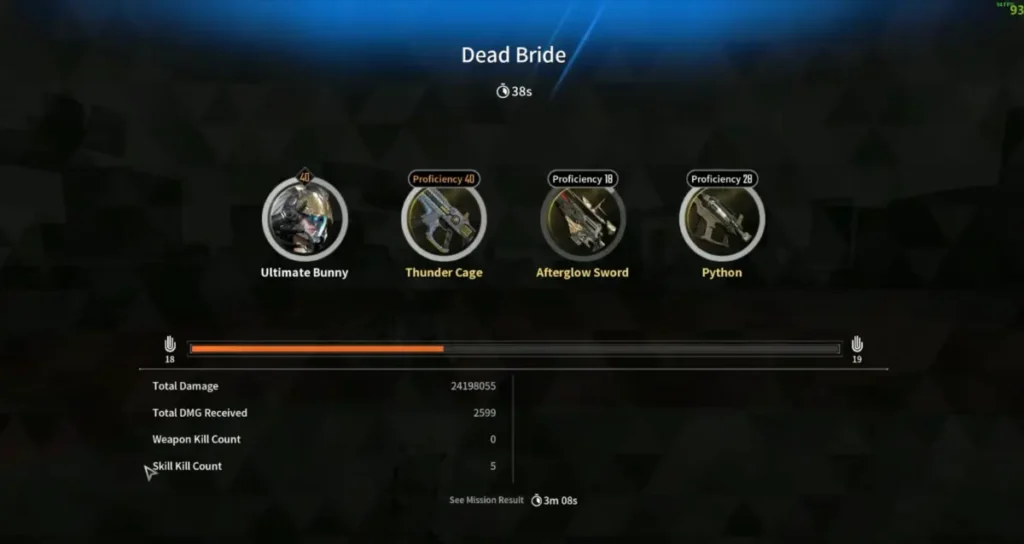
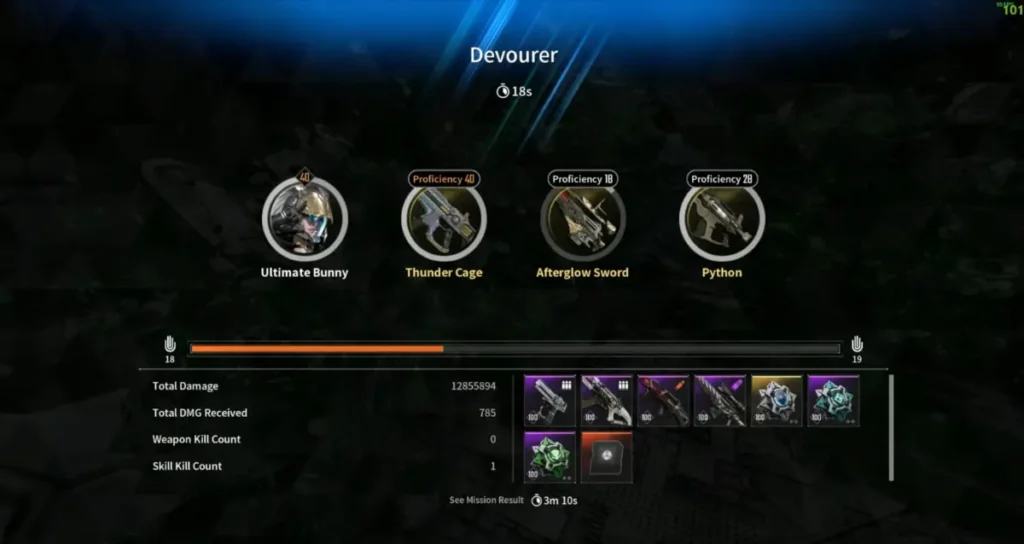
If you’re looking to push the boundaries of your gameplay in The First Descendant, then this comprehensive Bunny build guide is just for you. This guide is an updated, in-depth look at Bunny’s capabilities, designed to maximize her potential for boss fights, mobbing, and everything in between. Let’s break down how you can transform Bunny into a powerhouse of damage and efficiency, capable of melting bosses in a mere 18 seconds.
The Reactor
One of the key components of building a high-performance Bunny is selecting the right reactor. This setup doesn’t require a perfect reactor but aims for skill crit chance and skill crit damage. Here’s what you need to know:
Current Reactor:
- Skill Crit Damage
- Additional Attack Against Colossus
Ideal Reactor:
- Skill Crit Chance
- Skill Crit Damage (both in gold)
These stats enhance Bunny’s performance during Colossus fights. While it’s tempting to focus solely on bossing, it’s beneficial to have a flexible reactor setup. For mobbing scenarios, a reactor with skill effect range and skill crit damage, like the Tingling Singularity Reactor, can be ideal.
Farming for Reactors
To acquire a specific reactor, you can navigate through the map by checking the difficulty level rewards and type in exactly what you want. Bunny typically works well with general rounds, so focus your efforts on Electric Singularity and Forward Base for the best reactor options.
Understanding Bunny Builds
To maximize Bunny’s potential, focus on integrating catalysts into her slots. While this can limit build diversity, it significantly boosts performance.
High Voltage Module
A game-changer for Bunny is the High Voltage module, a transcendent module exclusive to Bunny. Here’s why it’s essential:
- Ultimate Cooldown Reduction: Ensures 100% uptime on skills.
- Increased Range and Damage: Enhances the performance of skill three.
Initially thought to be unsuitable for mobbing, this module has proven effective, especially when paired with maximized range and skill expansion. It allows Bunny to clear areas by dealing damage through walls and doors, making it indispensable for both bossing and mobbing.
Grapple Mods
Grapple mods come down to personal preference, but Long-distance Maneuvering is recommended for maximizing damage with Bunny. Here’s why:
- Distance-Travel Procs Lightning Emission: Bunny’s lightning emission triggers are based on the distance traveled, which includes upward movement, descent, and lateral shifts.
- Double Charges: With long-distance maneuvering, Bunny gets two charges, allowing faster procs than simple sprinting.
To capitalize on this, jump and grapple the floor, pulling yourself in a wide circle. This maneuver increases the distance traveled, thus boosting damage.

The Dungeon Setup
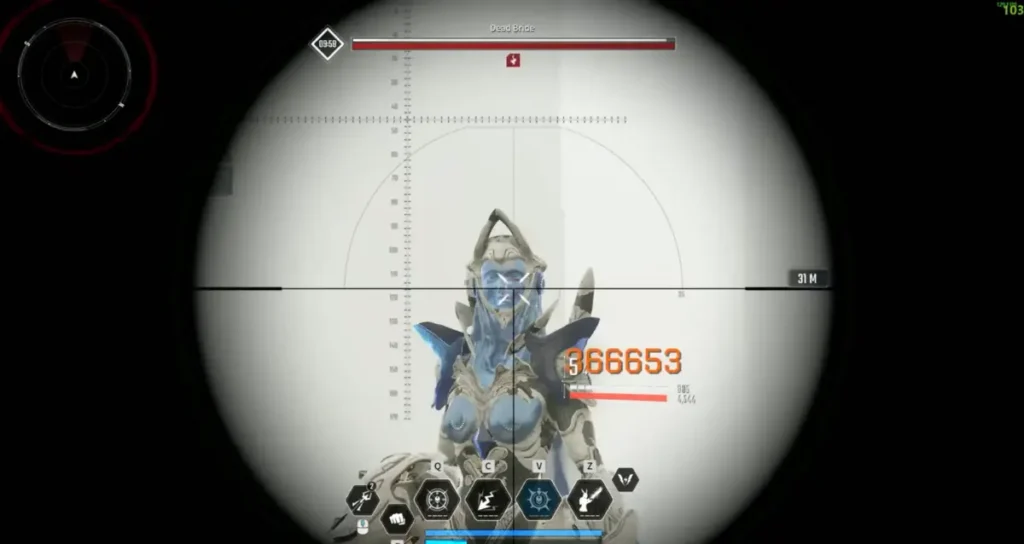
For the dungeon setup, the focus is on critical hits and maximizing damage output, especially against bosses.
Crit Focused Build
- Crit Hit Rate: 30%
- Crit Damage Multiplier: 4.3x
This setup pushes crits into the 2 million range, ensuring rapid takedowns of elites and bosses without needing to engage them directly.
Component Selections
- High Voltage with Maximum Range and Skill Expansion: This configuration enhances your radius and overall damage, perfect for wiping out mobs in dungeons.
- Cooldown Mods: Essential for maintaining skill uptime. With High Voltage-reducing cooldowns, you can skip certain mods like double focus on electric and focus on singular unless your reactor lacks cooldown enhancements.
Defensive Mods
If survivability becomes a concern, consider incorporating a defensive mod such as Spear and Shield. While it offers slightly more total damage than Iron Defense, it provides a nice balance between offensive power and defense.

Bossing Setup
When it’s time to tackle bosses, the build shifts slightly to accommodate the demands of intense encounters.
Key Components
- Dangerous Ambush: This is the go-to Architect mod for boss fights, providing a significant damage increase. Multi-talented is an alternative but typically offers less damage in practice.
- Defensive Mod: Spear and Shield, for those challenging boss fights, offers a defense boost, pushing your defense stats up to 25-30k, making Bunny resilient against heavy hits.
- Avoid Skill Simplification: Although it offers a damage modifier increase, the MP cost isn’t justifiable given Bunny’s existing damage capabilities.
Mobbing Setup
While high voltage is generally sufficient for most content, sometimes a more traditional AOE build is preferred. This setup is all about maximizing Bunny’s big circle AOE capabilities:
Build Highlights
- Nimble Fingers: Provides cooldown benefits, ensuring skill uptime without High Voltage.
- MP Collector: Essential for maintaining sprint capabilities, contributing to sustained mobility and damage output.
- Maximum Range and Skill Expansion: For unparalleled AOE potential, perfect for clearing trash mobs efficiently.
Defensive Mod Adjustments
Depending on your preference, swap Focus on Singular for a defensive mod like Spear and Shield if you seek more survivability.
Exploring Bionic Fuel
Bionic Fuel offers an intriguing mechanic: slower sprinting without MP drain, instead of drawing from health. While it presents infinite sprint possibilities, it often results in slower movement and reduced damage.
- HP Collector: Works well with Bionic Fuel for sustaining health during extended sprints.
- Supernova Set: Provides additional recovery when HP is low.
Despite its unique features, Bionic Fuel often feels inferior due to the slower pace and less damage compared to the MP Collector approach.
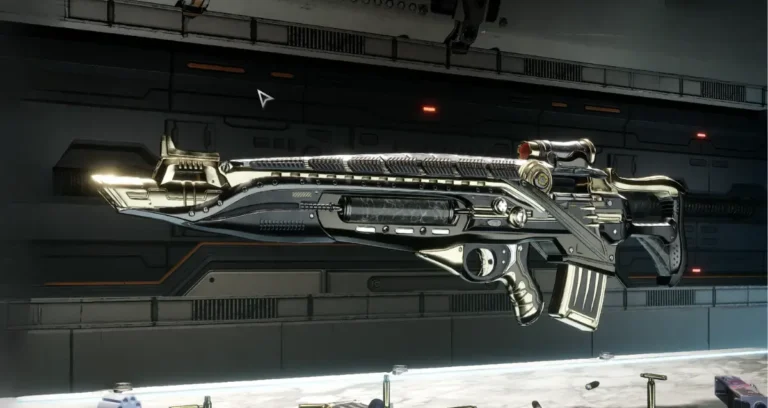
Weapon Choices
For weapons, the Thunder Cage and Afterglow are top picks for Bunny:
- Thunder Cage: Versatile for both bossing and mobbing, with builds optimized for both scenarios.
- Bossing Setup: Firing Fiesta
- Mobbing Setup: Sweeping Squad
- Afterglow: Ideal for dealing massive damage with Weakpoint Expansion, perfect for exploiting enemy weaknesses.
Boss Melting Tactics:
By utilizing a sniper rifle setup, players can down bosses within two shots while snapshotting for maximum damage from the Dangerous Ambush mod.
Component Sets
Component choices can greatly influence Bunny’s build effectiveness:
Annihilation Set (Two-Piece)
- Annihilation Sensor: Offers Max MP and MP Recovery for sustained sprinting.
- Annihilation Memory: Provides Max HP, Defense, and MP Recovery Modifier for quality of life improvements.
This setup excels in maintaining Bunny’s sustain and efficiency. Opt for Four-Piece Slayer for bossing, which dramatically increases skill power for devastating single-target damage.
Bionic Fuel & Supernova Set
For those intrigued by Bionic Fuel, the Supernova Set offers HP Recovery benefits:
- HP Annihilation: Provides additional HP Recovery.
- Shield Collector: A rare mod that synergizes with Bionic Fuel for shield recovery.
Additional Set Options
- Battle Aesthetic Set: An elusive option offering an 18% skill crit rate, perfect for boosting damage potential. Although rare, it can be farmed in higher-level areas like Hard Kyper Refinery.
Conclusion
Crafting the perfect Bunny build in The First Descendant requires a balance of critical damage, sustainability, and strategic component choices. This guide aims to provide a foundation for both veteran players looking to max their Bunny and newcomers seeking to explore Bunny’s potential. Whether you’re bossing, mobbing, or exploring hybrid builds, the Bunny setup outlined here will ensure you’re equipped to tackle any challenge the game throws your way.
FURTHER READING