The BEST Boss Killing Weapon – The First Descendant Tamer Weapon Build Guide! (500K DPS)
Today, we’re diving into one of the most formidable weapons in the game— the Tamer. Known for its incredible DPS, the Tamer is a beastly machine gun that’s quickly become a favorite among players. In this guide, I’ll cover everything you need to know about this weapon, from its pros and cons to my personal build recommendations. So, let’s get started.
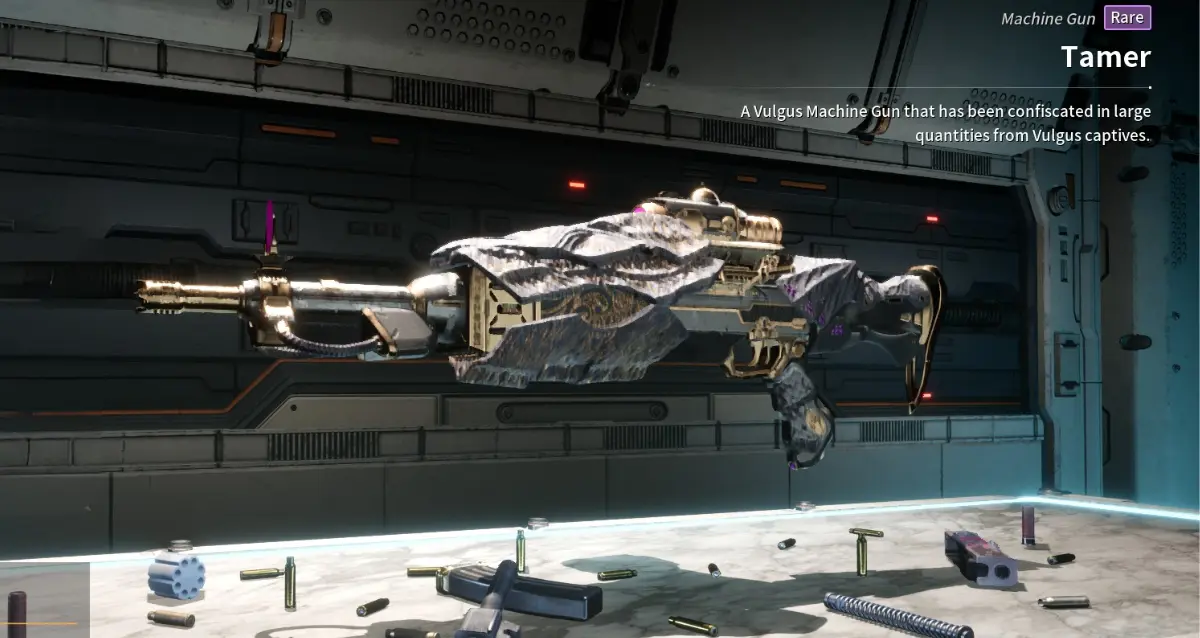
The Tamer: An Overview
The Tamer is a machine gun that uses General rounds and boasts some of the highest DPS among the game’s weapons. While heavy weapons like sniper rifles, rocket launchers, and shotguns might outshine it in raw damage, they often suffer from ammo shortages. For many players, especially those who aren’t playing characters like Enzo, the Tamer stands out as the most reliable high-DPS option.
The Pros and Cons of the Tamer
High DPS with General Rounds
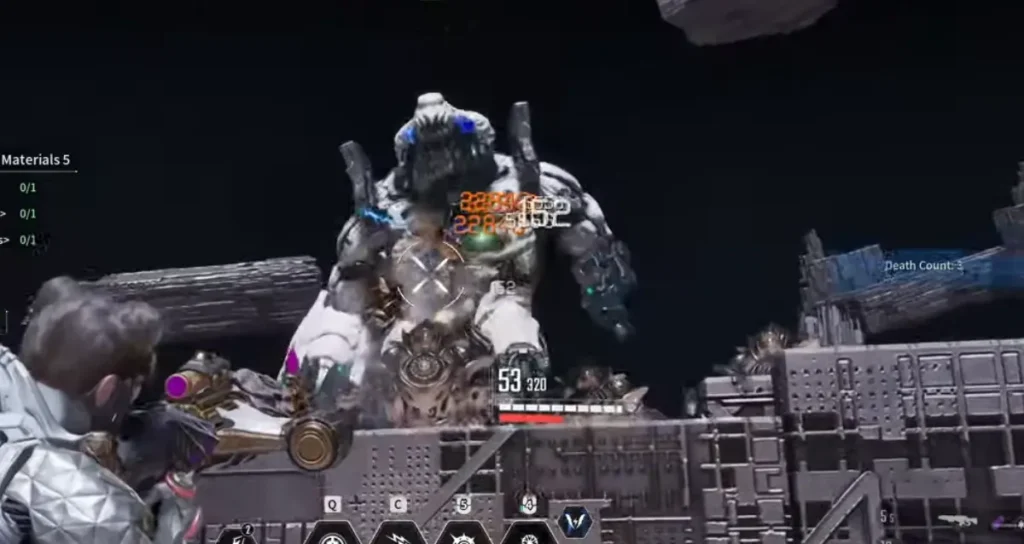
The Tamer’s main strength lies in its consistent and high DPS, which makes it a top choice for many players. It’s particularly effective in prolonged fights where heavy weapons might run out of ammo.
Mobility Issues
One of the major downsides of the Tamer is the significant slowdown when aiming down sights or firing. This can be a critical issue for squishy characters who need to dodge and weave to avoid damage. Tanky characters like Ajax, Kyle, and Glay, or those with aggro-drawing abilities like Jaber, can mitigate this drawback.
Ease of Upgrading
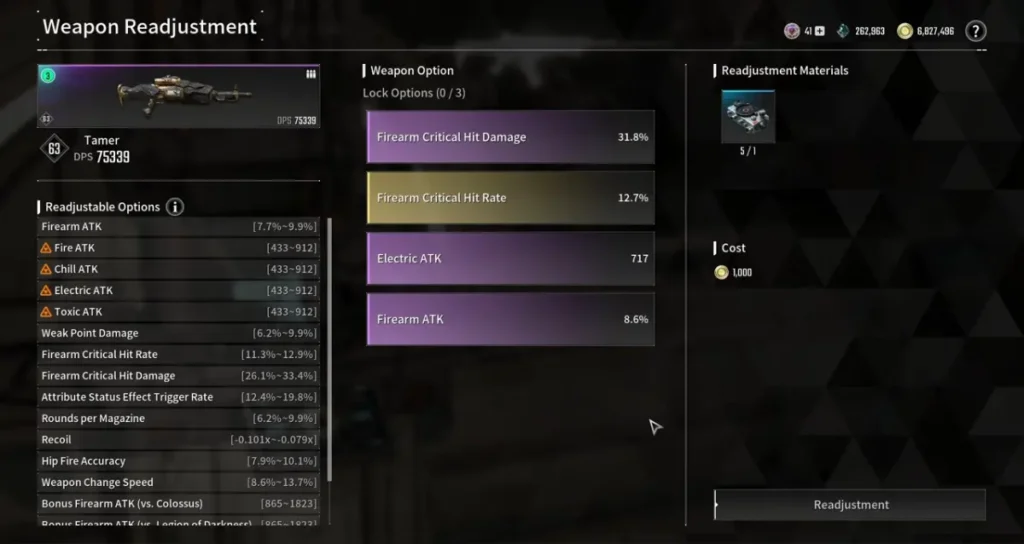
Unlike legendary weapons, the Tamer is a rare weapon, making it easier and cheaper to upgrade. It uses adjustment control axes for readjustments, which are relatively easy to craft, allowing you to roll for perfect stats without a huge resource investment.
Building the Tamer for Maximum Effectiveness
Core Build Components
To maximize the Tamer’s potential, prioritize the following mods:
- Rifling Reinforcement: Increases base damage by 32%.
- Action and Reaction: Boosts damage while adding a small amount of recoil.
These mods significantly enhance the weapon’s damage output. Additionally, increasing the fire rate with mods is essential due to the Tamer’s relatively slow firing speed.
Crit Build vs. Weak Point Build
I experimented with a crit-focused build, which looked impressive on paper with high DPS numbers. However, machine guns like the Tamer have a low base crit rate, making this build less effective in practice.
The more practical approach is a weak point build:
- Weak Point Damage Mods: Increase weak point damage by 50%, making it easier to dispatch bosses quickly.
- Accuracy and Elemental Mods: Improve accuracy to hit weak points consistently and add elemental damage for versatility against different enemy types.
This build, though less flashy, results in higher overall DPS and faster boss kills.
Acquiring the Tamer
Best Farming Locations
There are a few key places to farm the Tamer, depending on your progression in the game:
- White Knight GCH (Observatory and Orders Occupied Facility): This area offers a 50% drop chance for the Tamer, making it a prime farming spot.
- Void Fusion Reactor in White Knight GCH: Another 50% drop chance location for the Tamer.
If you’re early in the game, you might find additional spots to farm the Tamer. If you know of any, feel free to share them in the comments, and I’ll update them with a pinned comment.
Conclusion
The Tamer is a powerhouse in The First Descendant, offering exceptional DPS with General rounds. Despite its mobility issues, it’s a top-tier weapon, especially for tanky characters. By following the build strategies outlined here, you can optimize the Tamer for maximum damage output.
FURTHER READING