How to Check and Adjust Throttle Free Play on Your Motorcycle
When it comes to motorcycle maintenance, one of the simplest yet most impactful tweaks you can make is adjusting your throttle free play. It’s a small adjustment, but it can make a huge difference in how your bike feels—making it more responsive, smoother to ride, and easier to control.
In this guide, based on tips from MC Garage, we’ll walk you through what throttle free play is, why it matters, and how to check and adjust it on your bike.
What Is Throttle Free Play?
Throttle free play is the small amount of movement in the throttle grip before the engine actually starts to respond. Most manufacturers recommend 2–3 millimeters of free play.
Over time, your throttle cables naturally stretch and settle into their housings. As that happens, the amount of slack increases, and you may start to notice a delay between twisting your wrist and the engine reacting. That delay can make precise throttle control more difficult, especially at low speeds or when cornering.
How to Check Throttle Free Play
Checking free play is easy, and here’s how to do it:
- Roll the throttle grip forward until it stops.
- Gently twist it open until you feel tension on the cable.
- The distance between those two positions is your throttle free play.
Tip: Many throttle grips have a seam or marking that can help you visually measure the movement. For more accuracy, use masking tape:
- Cut out two small triangles from the tape.
- Stick one on the grip and the other on the throttle housing.
- Measure the distance between them as you twist the throttle.
Where to Adjust Throttle Free Play
If your free play is out of spec, you can adjust it in two places:
1. At the Throttle (Handlebar Area)
- Most bikes have an inline adjuster near the throttle grip.
- This is ideal for fine-tuning the free play.
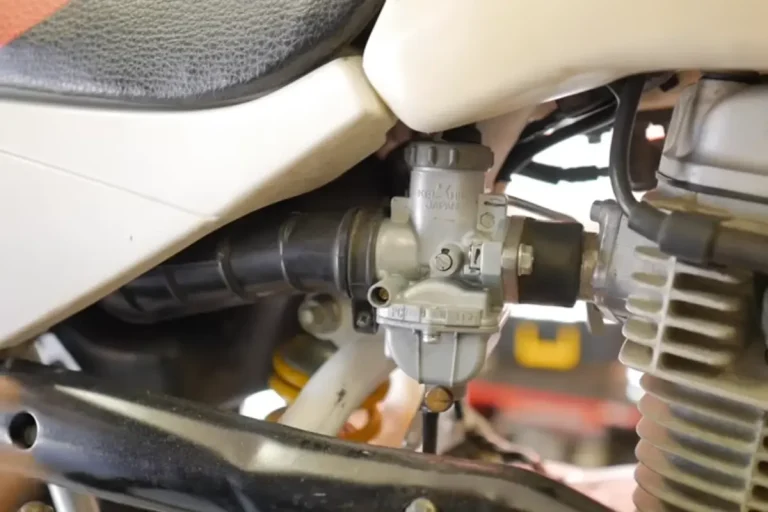
2. At the Engine (Throttle Body or Carburetor Area)
- These adjusters are used for larger adjustments.
- They’re harder to access and a bit trickier to work with.
How to Adjust Throttle Free Play
Let’s go step-by-step:
Step 1: Adjusting at the Throttle
- Slide the rubber cover off the inline adjuster.
- Loosen the lock nut.
- Turn the adjuster to achieve 2–3 mm of free play.
- Once set, tighten the lock nut.
- Spray a little silicone lubricant to help slide the rubber boot back into place.
Note: If the adjuster is maxed out or can’t reach the correct slack, you’ll need to make adjustments at the engine-side cables.
Step 2: Adjusting at the Engine (If Needed)
- Make sure the handlebar adjuster is set to the middle of its range first.
- Use the same method as above: loosen the lock nut, adjust the cable housing length, and re-tighten.
Be patient—this area is usually tighter and harder to reach than the bars.
Safety Check After Adjusting
Once you’ve adjusted the throttle free play, perform a quick safety check:
- Turn the handlebars lock to lock (full left to full right).
- Watch and feel for any change in throttle tension.
- Start the bike and turn the bars again.
- Watch the idle. If it increases or fluctuates, your throttle cables may be too tight or routed incorrectly.
Final Thoughts
Adjusting your motorcycle’s throttle free play is a quick and simple DIY job that can dramatically improve your throttle response and overall ride feel. Whether you’re a seasoned rider or a weekend warrior, making sure your throttle is dialed in can help you ride more smoothly and safely.
If your bike has a unique throttle setup (such as only one cable or ride-by-wire), be sure to check your owner’s manual for specific guidance.
Watch the Full Video
Want to see it in action? Check out the full MC Garage video on throttle free play below:
Conclusion
Throttle free play might seem like a minor detail, but it has a big impact on how your motorcycle responds and handles. A properly adjusted throttle gives you smoother control, better confidence in turns, and a more connected feel with your bike.
The best part? It’s a quick, easy job you can do at home with minimal tools.
By regularly checking and adjusting your throttle free play, you’re not just improving ride quality—you’re also taking an important step toward safer, more precise motorcycling.
Take a few minutes, dial it in, and enjoy the difference on your next ride.