DIY Cabinet Building: Budget-Friendly Tips and Hacks from a Not-So-Pro Woodworker
It’s an intimidating project for any dedicated DIYer, all in all. But with creativity, budget-conscious decisions, and just a tad of “hack” tips, a quality cabinet without, of course, professional prices is possible. Here’s how it went for one woodworker-in-depth, filled with practical tips, yummy humor, and an unorthodox dose of wisdom.
1. Planning & Measurements: Start Right, Even if You’re Not a Pro
Good cabinet projects begin with good measurements. Accurate measurements will keep the account of uneven walls for an effective snug fit. There are even tools available that track measurements so that you will not have to re-measure them each time. Some pros recommend dedicated apps or devices that help visualize wall irregularities, but be sure to use what fits your workflow.
Pro Tip: Use a platform as your toe kick rather than integrating it into the cabinet box itself. Building cabinets without toe kicks and leveling a single platform instead saves time, money, and hassle.
2. Constructing the Cabinet Boxes: Simple Boxes, No Fancy Toe Kicks
Most people opt to build their toe kicks into the cabinet boxes themselves, but this can cause problems with leveling. In our case, our woodworker opted to build simple boxes and then create a separate platform as a toe kick. He leveled that one platform first. Cabinets sit snugly on a single-level base, thus easily adaptable.
Hack Tip: Make a template from scrap wood for tricky cuts. Scribe the wall profile onto the template, cut it out, and then transfer it onto the final material for a more accurate fit.

3. Choosing the Countertop: Don’t Fear Plywood!
Counters really are a design dilemma. You could splurge on butcher block or walnut slabs, or opt for the budget-friendly option of plywood with hardwood trim. Plywood is surprisingly tough and affordable for countertops, especially in built-ins that are unlikely to experience heavy kitchen use.
Tip: Layer a strip of hardwood along the front edge of the plywood to create the illusion of a thicker countertop. This trick is budget-friendly and adds durability.
4. Creating Perfect Cuts for Walls That Aren’t Square
A flawless countertop installation often requires a professional-looking scribe cut, which can be intimidating for a beginner. Here’s a step-by-step breakdown to get it right:
- Gap Planning: Leave a small gap (around 1 inch) between the cabinet side and the wall. This ensures the cabinet face frame will look consistent.
- Measuring the Wall Offset: Measure how out-of-square your wall is and use this measurement as your scribe offset.
- Using a Template: Place a scrap template flush with the cabinet edge, mark your line with a scribing tool, and cut to fit. You’ll save time and prevent costly mistakes this way.
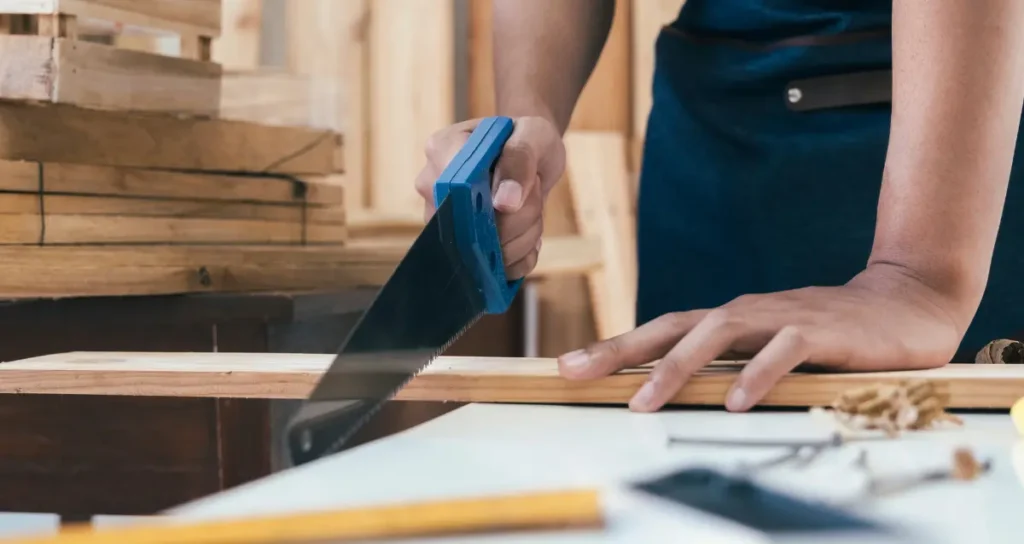
- Cutting with Confidence: If you’re not comfortable free-handing the cuts, consider using a bandsaw or jigsaw to get a precise fit.
Hack Tip: If you don’t have a professional scribing tool, try 3D printing one or make your own from scrap wood. Small, low-cost adjustments can make a big difference!
5. Choosing Adjustable Shelves for Flexible Storage
Adjustable shelving can be a good option, especially for the upper cabinets where nearly everything is kept. The 32mm system emerged post-WWII in Europe and has since then become the norm for cabinetry construction. Most contemporary adjustable shelf pin jigs follow this 32mm spacing, so you may easily find compatible hardware and adjust to your storage needs.
History Insight: The 32mm cabinet system was initially designed for efficient rebuilding after WWII, allowing faster production and easier customization. Now, it’s a worldwide standard.
6. Assembly Tips: Using Pocket Screws Without the Hassle
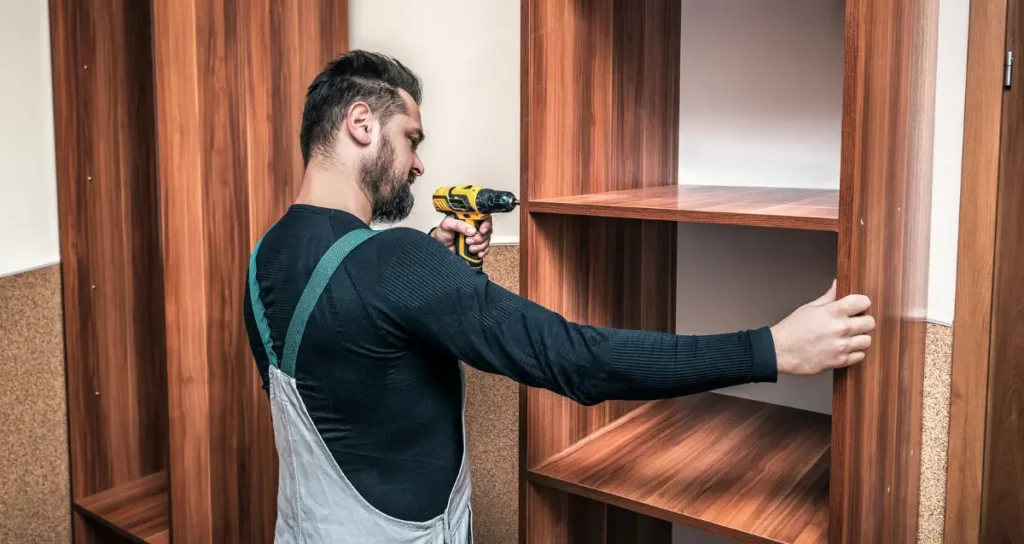
Pocket screws are the favorite of most DIYers, but they tend to shift, causing misalignment. Instead of using pricey clamps, clamp your cabinet, check for squares, make slight mallet adjustments and drive the screws. It is a low-cost method that keeps your joints aligned, saving you both money and time.

7. Adding Face Frames: A Test of Patience and Precision
Face frames are tricky, especially when scribing them to uneven walls. Watch a few scribing tutorials for guidance, but here’s a condensed method:
- Start with Gap Planning: Leave a small gap on either side of your cabinet to allow for scribing.
- Prepare the Trim Pieces: Scribe lines onto the trim using a 3D-printed scribing tool or an improvised tool with a pencil.
- Secure the Trim and Cut: Cut along your line, preferably with a back bevel for a snug fit, and glue or nail it in place.
Confidence Booster: Even if your first try isn’t perfect, fill small gaps with wood filler and paint. Many professionals rely on a little touch-up to get a flawless look.
8. Painting: Embrace the Tools (and Tricks) that Make It Easier
Painting is that final trim that makes or breaks your cabinetry; otherwise, it breaks them. Instead of spending hours with a roller, you can try using an airless paint sprayer for drilling. This tool is a bit inexpensive and quite effective; it does not sacrifice finish quality but saves much time.
9. Lighting Options: Integrate Late Additions with Hidden Wiring
Adding lighting under cabinets is nearly impossible to conceal the wiring. You can always opt for a hidden corner paintable channel that keeps the cords from sight. When it is painted and shelves are stacked with books or decor, it will blend perfectly.
10. Door-Making Options: The Pro’s Way Isn’t Always the Best for DIYers
There are several ways to make doors for your cabinets. Here’s a quick breakdown:
- MDF with Fake Panels: Cut a door out of MDF, then glue a thinner frame of MDF on top for the “panel” look. This cost-effective option holds up well with proper hardware.
- Router and Rail Set: Using a rail and stile router bit set for joints can yield high-quality doors, though it may require investing in special tools.
- Professional Outsourcing: Many cabinet shops actually order doors pre-made from specialized suppliers, saving time and standardizing quality.
Cost Consideration: You can often outsource door-making to local shops for a reasonable price. If you value your time, this may be worth it.
11. Adding Finishing Touches and Staying Within Budget
The last part of the details to make the cabinet complete is in assembling, painting, and installing the doors. Adjustable shelves, handles, soft-close hinges, and other finishing touches are used to make an improvement at quality.
- Adjust to Last-Minute Changes: Unexpected additions (like LED lights) may stretch your budget, so be sure to allow a bit of wiggle room.
- Sticking to Budget: Despite budget overruns, being resourceful can help you stay close to your goals.
Lessons Learned from the Journey
Projects like these teach valuable lessons beyond woodworking skills:
- Persevere Through the Messy Middle: The “messy middle” of a project can feel overwhelming. Find small wins and take breaks to keep your motivation up.
- Embrace Limitations: Deadlines and budgets might feel restrictive, but they provide clear goals to work toward, bringing structure and focus to your creativity.
- Satisfaction in Self-Reliance: Doing the work yourself, finding solutions to unexpected issues, and seeing the final result can be incredibly rewarding.
Final Thoughts
So it was finally completed-a little over budget and a few days past deadline-but with a newfound respect for professional cabinet makers-and pride in their work. Whether you’re a seasoned woodworker or just getting started, every step, every mistake, and every “hack” brings you one step closer to an absolutely unique cabinet.


