Hardware Durostech Essentials 2024: In-Depth Guide
Reliable hardware is the backbone of any project, and Durostech solutions have earned a solid reputation for performance and durability. Yet many users focus on specs like processors and memory, while skipping a smaller but critical piece: firmware compatibility and proper updates. Could skipping firmware checks be the hidden cause behind intermittent glitches in your Durostech setup?
Keeping firmware current and understanding version differences can smooth out workflows and reduce downtime. By learning to track updates and verify compatibility, you’ll make stronger purchase decisions, avoid unexpected failures, and get full value from your investment.
Choosing Components Wisely
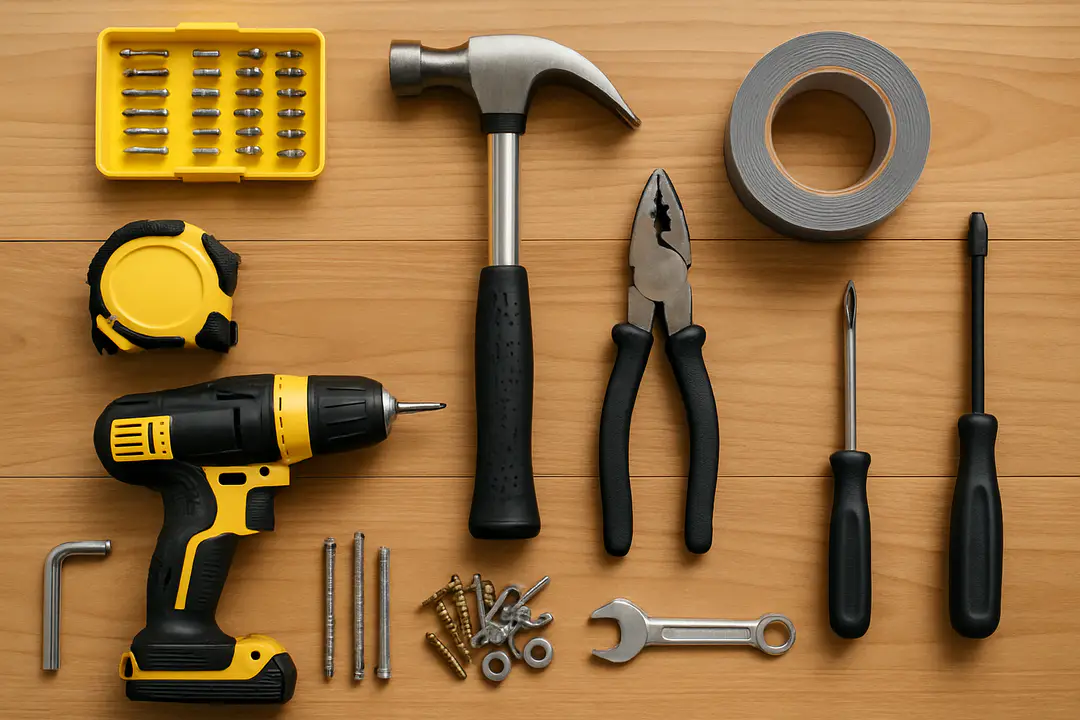
Selecting the right parts sets you up for success with any Durostech build. You’ll want a CPU that matches your workload, whether it’s data crunching or real-time control. Memory is next—opt for modules tested for industrial vibration and temperature ranges. Storage should balance speed and longevity, especially if you handle large files.
Below is a quick list of recommended parts when building or upgrading hardware Durostech systems:
- Processor: Intel Xeon or AMD EPYC for multitasking and stability.
- Memory: ECC DDR4 modules rated for extended temperature ranges.
- Storage: NVMe SSDs with high write endurance.
- Motherboard: Industrial-grade boards certified for Durostech firmware.
- Cooling: High-efficiency fans or liquid cooling if heat is a concern.
When you shop, verify each component’s compatibility on the Durostech support site. Look for official lists of tested parts and ask distributors about extended warranties. Taking a methodical, data-driven approach here means fewer surprises down the line. Save your project time and budget by choosing the right gear from the start.
Installation Step by Step
Setting up new Durostech hardware can feel daunting if you’ve never done it. Breaking it into clear steps makes it less stressful. First, unpack every component in a clean space and check for damage against the packing list. Next, consult the quick-start guide to locate all jumpers, connectors, and mounting holes.
Follow these basic steps:
- Power Down and Unplug: Always ensure the power supply is switched off.
- Mount Mainboard: Secure the board in the chassis using anti-static screws.
- Attach Memory and CPU: Align pins and apply even pressure.
- Connect Cables: Plug in data, power, and fan cables into labeled headers.
- Install Storage: Slide SSDs or HDDs into bays and lock them in place.
- First Boot: Power on and enter the BIOS to confirm firmware version.
- Install OS and Drivers: Use the latest release from Durostech’s driver portal.
At each stage, keep a notebook. Note the BIOS settings you tweak and the driver versions you install. This record helps if you need to roll back a change or work with support later. By following an organized routine, you minimize errors and get the system up and running in record time.
Optimizing Performance Settings
After installation, fine-tuning hardware settings can unlock extra power. Durostech devices often include configurable parameters for CPU throttling, fan curves, and voltage limits. These settings help balance performance against heat and noise.
Start by updating to the latest BIOS and firmware. Regular software updates from Durostech often bring new tuning options and bug fixes. Once you have the newest firmware, adjust these key controls:
• CPU Boost: Enable higher clock caps while keeping temperature in check.
• Fan Speed: Create custom curves; start fans slow and ramp up when needed.
• Power Profiles: Switch between energy-saving and high-performance modes.
• Thermal Thresholds: Set safe shutdown points to protect components.
Use built-in monitoring tools or third-party apps to track temperature, voltage, and load. Log your results over several runs to see patterns. If you need more horsepower, push one setting at a time and test stability before moving on. This cautious approach prevents crashes and unexpected shutdowns during critical tasks.
Troubleshooting Common Issues
No system is perfect, and even a solid Durostech build can hit snags. Intermittent freezes, unexpected reboots, or I/O errors may point to firmware mismatch or cabling faults. Before calling support, check basic elements like cable seating, power supply health, and memory installation.
If problems persist, consult the Durostech support portal at the Durostech support portal for targeted firmware patches and detailed guides. You can also compare symptoms and fixes in this quick reference:
| Issue | Possible Cause | Solution |
|---|---|---|
| Random Reboots | Overheating or PSU fault | Clean fans, test power supply |
| BIOS Access Fail | Wrong jumper settings | Reset CMOS, re-seat jumpers |
| USB Dropouts | Faulty headers | Swap cables, update USB driver |
| Slow Boot Time | Outdated firmware | Apply latest BIOS update |
Keep calm and work methodically. Log each step and change. If you exhaust DIY fixes, a clear summary helps the support team diagnose faster.
Maintenance Best Practices
Well-maintained hardware lasts longer and runs smoother. For Durostech gear, regular checks and cleanings are essential. Every three months, power down and dust the chassis interior with compressed air. Pay special attention to fans, vents, and heat sinks.
Monitor drive health with SMART reporting tools. Replace any storage device that logs repetitive write errors or high reallocated sector counts. If you manage multiple machines, consider using Durostech management tools to handle firmware distribution and performance monitoring centrally.
Document every maintenance session: date, tasks done, and component status. This log reveals trends, like a fan that slows over time or a module showing slight performance drops. Early detection of wear saves you from sudden failures in the field. A bit of upkeep can extend your hardware’s life by years and keep your projects on track.
Conclusion
Hardware Durostech offers a powerful platform for demanding applications, but getting the best results means more than picking the top spec. By paying attention to firmware updates, compatibility, and step-by-step installation, you set a stable foundation. Fine-tuning performance settings and knowing how to troubleshoot common issues will keep your system running smoothly under pressure.
Regular maintenance adds another layer of reliability. A proactive approach to cleaning, monitoring, and updating prevents surprises and extends the life of your investment. With these guidelines, you have a clear path to build, optimize, and care for hardware Durostech systems that stand the test of time. Now it’s your turn: apply these tips and unlock the full potential of your setup.